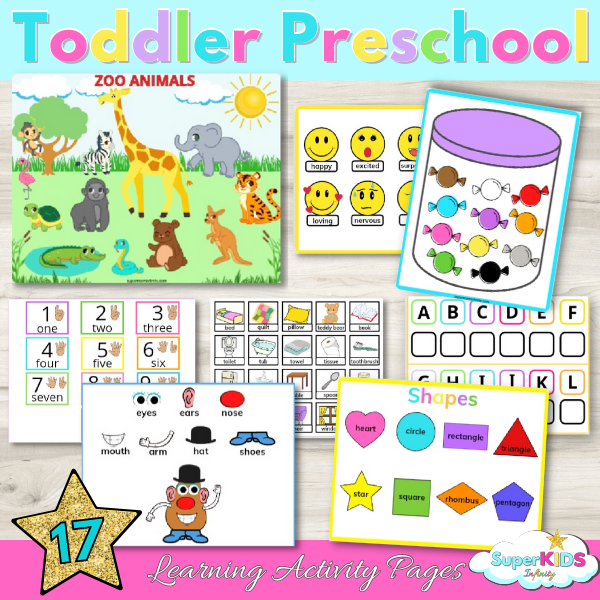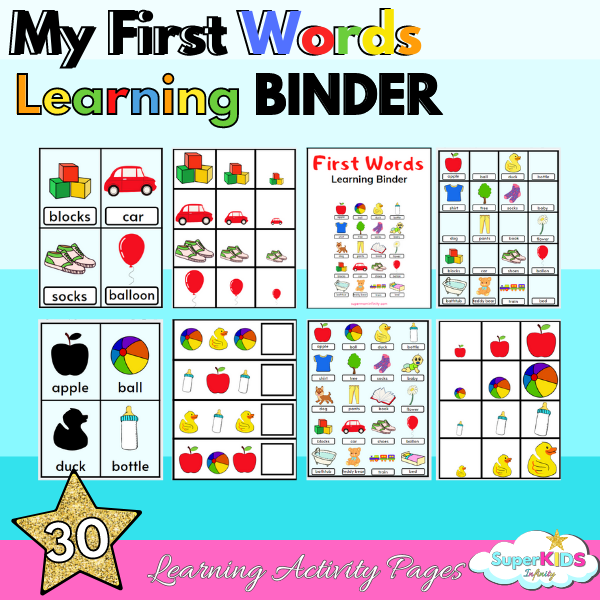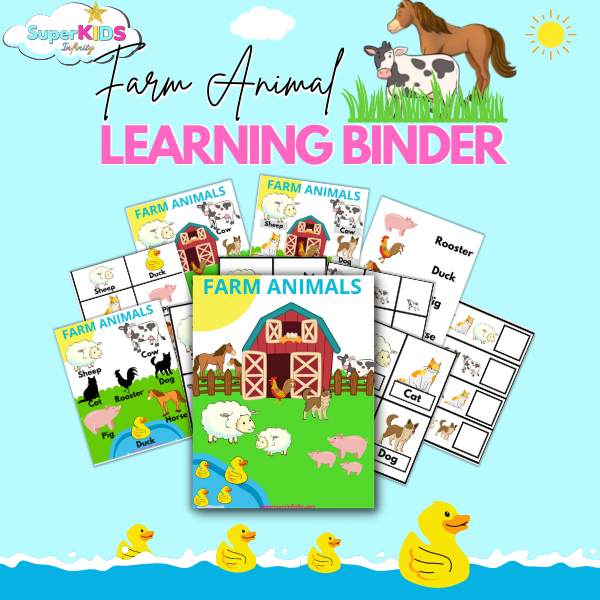
Learning Binder for Toddlers and Preschoolers
Toddler and preschool learning binders encourage your early learner to explore, learn and develop. Learning binders offer your child a hands-on learning experience to build developmental skills and encourage early education. It’s also my favorite independent play activity. A learning binder is also termed a busy book. Busy books can keep your little one busy while you do all those great things needed to be done within your day. However, independent play will come along later. I like to show, tell, teach, demonstrate, practice, and repeat the learning binder activities first, then offer one activity sheet at a time for independent play!
SuperMomInfinity is a participant in the Amazon Services LLC Associates Program, which is an affiliate advertising program designed to provide a means for sites to earn advertising fees by advertising and linking to Amazon.com. Please read my Disclosure for more details.
What is a Learning Binder?
A learning binder is an activity dedicated to your child’s developmental skills and educational level. Learning binders can be based on themes, academics, and a combination of both. You will see a lot of matching which is a great cognitive activity for early learners. Learning binders give your little one the assistance needed to memorize, understand and recognize concepts.
Printable Learning Binder: Busy Book
Printables are premade templates that you are able to download and print. Consider your child’s age and developmental level when choosing the best printables for your learning binder. However, most Learning Binders are designed as a whole book. This gives you the opportunity to download your favorite book.
How to Create a Learning Binder for Kids
Let’s create a learning binder for your early learner, but first, you need some printables to get started. Printable busy books that encourage memorization, understanding, and object/image recognition can be found at SuperKidsInfinity.
Creating a Learing Binder: Busy Book
Learning binders do require your time, but it’s well worth it in the end. Your child will truly enjoy the themes, be able to develop their developmental skills and learning skills. Now, it’s time to make sure you have all the supplies needed to bring your printables to life!
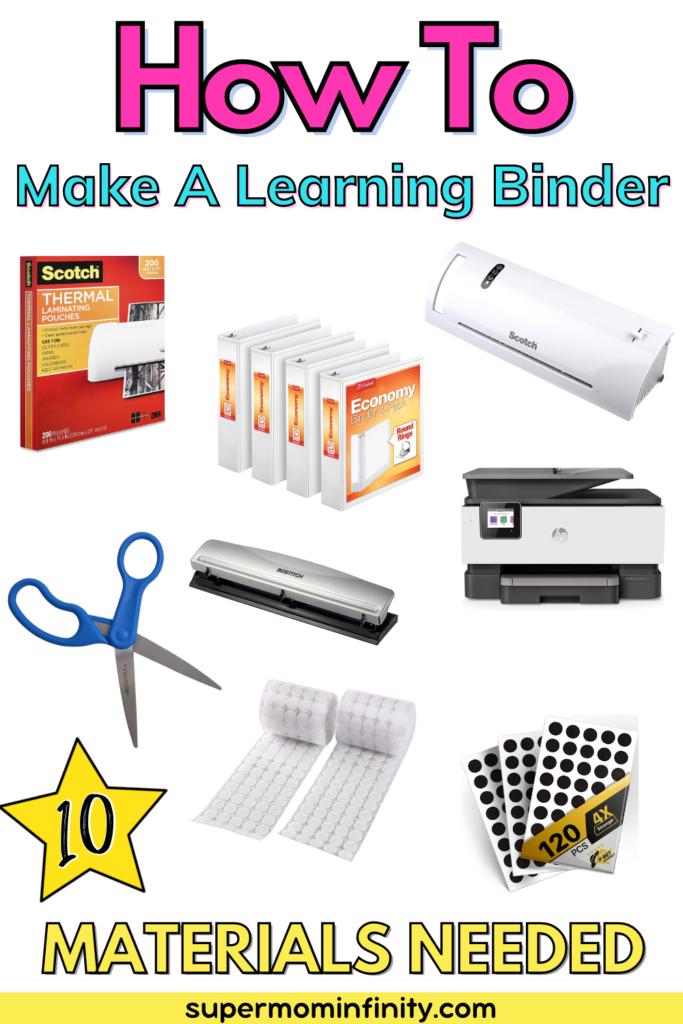
Learning Binder: Busy Book Materials Needed
Learning binder supplies are a great investment. I have had my major equipment like the printer and laminating machine for quite a while. However, the small supplies are purchased on a regular, because I am constantly coming up with more ideas for early learners. Here are the supplies I use for our learning binders and activity sheets.
Hp Printer
As I ventured into creating printable learning binders and activities, I knew it was time to invest in a printer. Lol, it was an asset for my business and my current one only held black ink. I also tried another version of Hp, but it gave me a few complications. I then bought this Hp Printer and have been truly satisfied ever since.

Cardstock Paper
Ok, I totally love Amazon and their products, but to be honest. I tried Neenah Bright White but the paper has a slight yellow tint to it. Neenah will do the job but I have a specific preference when it comes to cardstock paper.

I fell in love with Pen Gear Cardstock at Walmart! The paper is thick and it holds the color of ink almost to the “T”. Sam’s Club also has a brand that I really like too, it’s the Exact Index, Cardstock.
Quick Note: Regular copy paper may alter the color quality of your printables. Some printers may also alter the color quality. The configuration of your printer may need to be run again if your color quality is not meeting your expectations. Office Depot is an optional printing service you can use for printing quality colors on cardstock paper.
Laminating Machine
To create a learning binder you will also need a laminating machine. I literally thought this investment was going to be expensive, but I can say it wasn’t and definitely gets the job done. Scotch Laminating Machines have been a part of my business for two years strong and never gave me any complications.

Laminating Pouches
Here are the thermal laminating sheets also needed to create a learning binder. I have played around with quite a few different brands and these are my favorite. With both the laminating machine and sheets, I always slide the laminating pouches in twice just to make sure everything has adhered tightly together.

Scissors
Cutting out pieces for your learning binder requires scissors. Not saying a specific brand is better than the next, but it’s defiantly a must-have. I like to have a few scissors nearby because it’s always something I’m looking for.

Hole Puncher
After laminating your printables it’s time to utilize your hole punch. You can use a ruler or dry erase marker to make sure all your activity sheets are aligned precisely with the binder holes.

2″ Binders
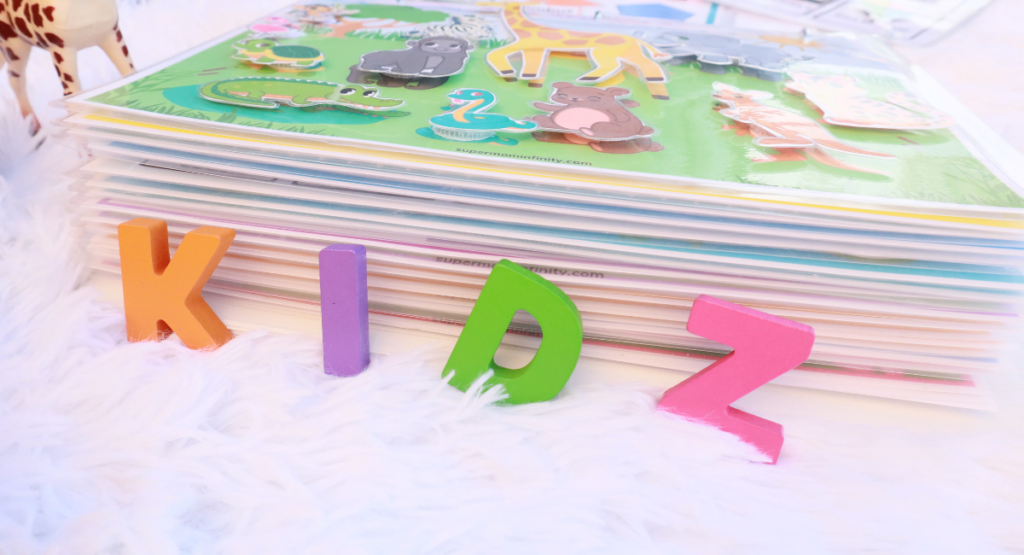
2-inch binders are a great size for most learning binders. However, your printable bundle may include 30 printable pages and you will create 15 activity sheets. The other 15 printable sheets are for cutting out the movable pieces. 2″ binders are recommended for busy books holding up to 20 activity sheets. Any amount after 20 activity sheets, you will need 2 1/2 to 3′ binders. All learning binders at SuperKidsInfinity require a 2″ binder.

Velcro Pieces
Velcro pieces are optional and should be considered alongside your child’s fine motor ability. You can start first using zip lock bags to store the pieces for each activity. Or, you can adhere them to the activity sheets with the velcro pieces.

Magnetic Circles
Magnetic circles are another optional accessory. I typically do not use them for the learning binders, however, they are great for other printable activities.

Magnetic Sheets
The magnetic sheets can be cut to fit specific printable activity needs. This works great for adhering activity on the refrigerator and whiteboards.

SuperkidsInfinity’s No School vs. School Days Schedule is a great example to view an activity adhering to a refrigerator with magnetic sheets. Our Mr. Potato Head Activities are also fun activities you can adhere to your refrigerator too!!!
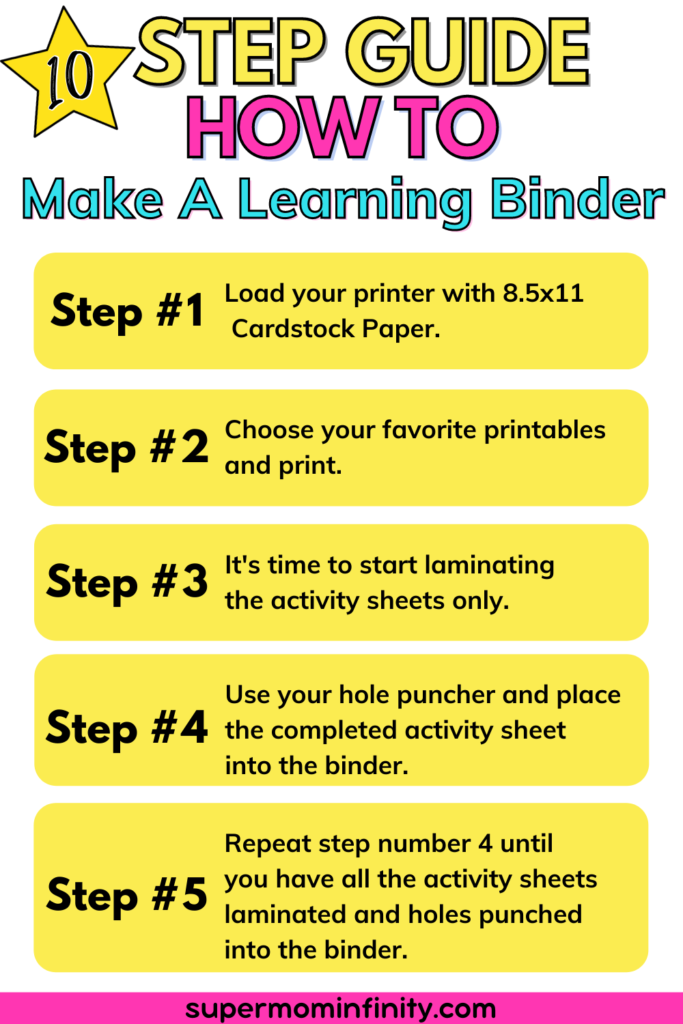
10 Step Guide to Make a Learning Binder: Create a Busy Book in Chronological Order
Your initial step to making a learning binder will be to have all your materials pre-prepped and ready to use!!! This 10 Step Guide to Making your very own Learning Binder will help you create your busy book fast and easily.
Step #1
Load your printer with 8.5×11 Cardstock Paper. I recommend doing this first because I have had many experiences of pressing the print button, walking away from the computer, and returning to the fact that I forgot to switch out the regular copy paper to cardstock paper. If you never used card stock paper for printable activities, your absolutely going to love it.
Step #2
Choose your favorite printables and print. Consider your little one’s age and developmental abilities which will help you decide on a learning binder or printable sheets for your little one. You may also consider the things that interest your child the most.
After printing, you want to make sure the sheets stay in the same order as you printed them. Most of the time the creator of the learning binder will have a video tutorial or instructions you can follow along with, just in case the printable sheets get mixed up.
Step #3
It’s time to start laminating the activity sheets only. You want to do this to keep the sheets still in order, and to see your progress a lot faster.
Step #4
Once you laminate a sheet, use your hole puncher and place the completed activity sheet into the binder.
Quick Note: Laminate the activity sheet, but not the partnering sheet that you will cut and create as the movable pieces. Leave the partnering sheet right behind the actual activity sheet for later.
Step #5
Take your time and try your best to repeat step number 4 until you have all the activity sheets laminated and holes punched into the binder.
Quick Note: Laminate the activity sheet, but not the partnering sheet that you will cut and create as the movable pieces.
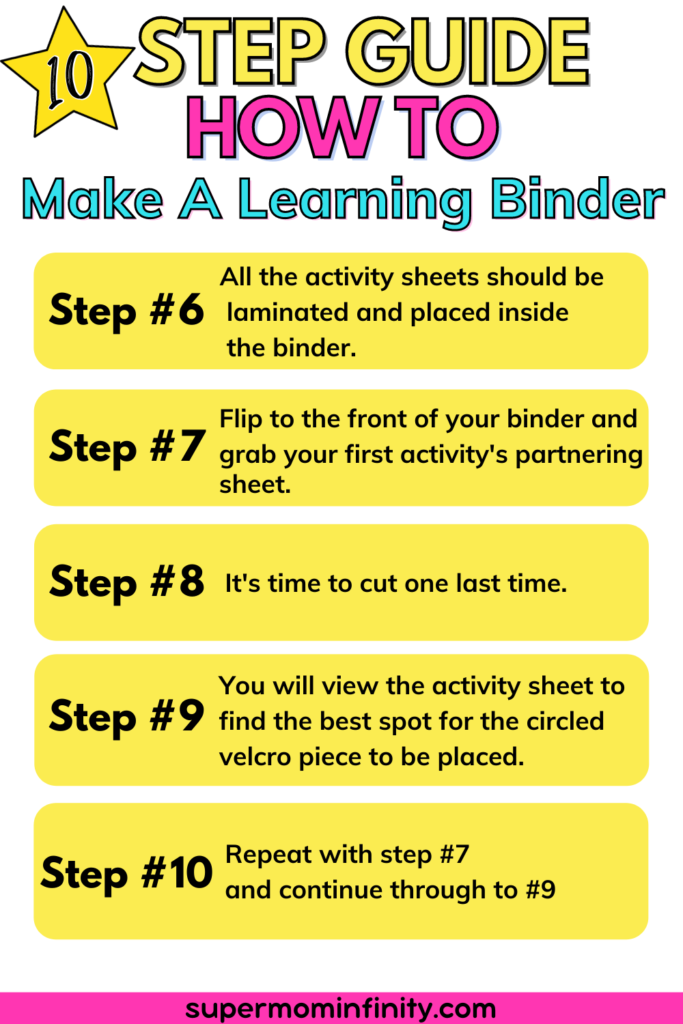
Step #6
Ok, at this point your binder should look almost completed. All the activity sheets should be laminated and placed inside the binder. The partnering sheet is NOT laminate and is placed right behind the activity sheet it goes with. This sequence is needed for all partnering sheets.
Step #7
Flip to the front of your binder and grab your first activity’s partnering sheet which will turn into movable pieces for your learning binder. It’s time to cut. Cut out your first-page partnering sheet/movable pieces. Once the movable pieces for the first activity sheet are cut out you are ready to laminate them.
Quick Notes: When placing the cutout images into the laminating pouches, be sure to leave spaces and not to let the images touch one another. This will be a catastrophe. You may use a small piece of tape behind each image when placing them onto the laminating sheet to prevent the pieces from sliding. I also like to slide the sheet into the laminating machine twice, just to be on the safe side.
Step #8
Now that your movable pieces are laminated it’s time to cut one last time. I like to leave a little border of the laminating sheet around each image. I have had the movable pieces come undone because I would cut so close to the border of the image, which is technically the sealant.
Step #9
Yayyy! Your first activity sheet is almost ready!!! Time for some velcro pieces. You will view the activity sheet to find the best spot for the circled velcro piece to be placed. Most learning binders have designated areas for the velcro piece to go and sometimes you made need to choose the best spot. The activity sheet already within the binder will have the rough velcro piece placed on it first. The soft velcro side can be placed directly on the rough velcro piece. Or you can place the soft velcro piece directly on the moveable piece. Then place the movable piece onto the rough velcro piece.
Quick Notes: Velcro pieces are optional, you may also consider a Ziploc bag or magnetic pieces.
Step #10
Great Job! As you continue on for the following sheet start with step #7 and continue through to #9 until your beautiful learning binder is completed.
Busy Books: Learning Binders
Busy books are fun and interactive activities your child can use throughout the day. Incorporate a learning binder into your early learning environment. Stop By SuperkidsInfinity Printable Shop dedicated to Early Learners, Special Education and Autism Resources for fun learning printables. You are now ready, prepped, and prepared with all the essentials to make a learning binder for your early learner. You know all the learning binder materials needed to bring your busy book to life plus the 10 steps you can follow to create your very own learning binder fast and easy.
